
Nikon D60 User Guide: A Comprehensive Overview
Welcome! This comprehensive guide unlocks the full potential of your Nikon D60, offering detailed instructions and insights for capturing stunning photographs effortlessly.
Getting Started with Your Nikon D60
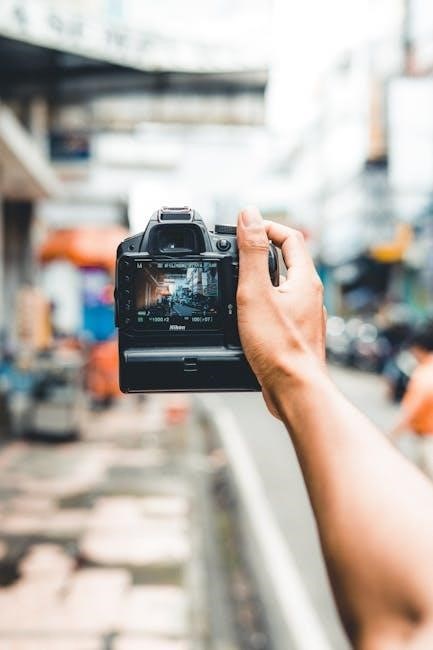
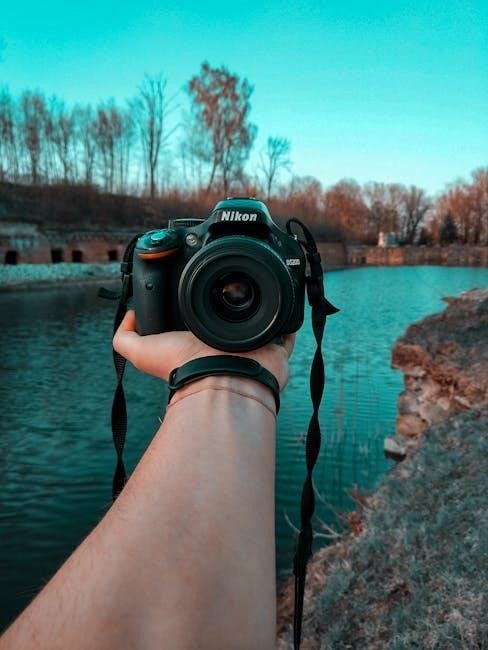
Congratulations on acquiring the Nikon D60! This section will guide you through the initial steps to begin your photographic journey. First, ensure you have all the components – the camera body, kit lens (if purchased as a bundle), battery, charger, USB cable, and documentation. Before attaching the lens, familiarize yourself with the camera body’s layout.
Insert the battery and charge it fully using the provided charger. Next, insert a compatible memory card (SD card) into the designated slot. Power on the camera and follow the on-screen prompts to set the language, date, and time. This initial setup is crucial for proper camera operation. Don’t hesitate to consult the included manual for detailed illustrations and explanations.

Unboxing and Initial Setup
Carefully unpack your Nikon D60, verifying all listed components are present: camera body, lens (if included), battery, battery charger, USB cable, and documentation. Inspect each item for any visible damage. Begin by attaching the lens, aligning the mounting marks and gently twisting until it clicks securely.
Insert the battery into the compartment and connect the charger. A full charge is recommended before first use. Next, insert a compatible SD memory card. Power on the camera; the setup screen will guide you through language selection, date/time setting, and other initial configurations. Register your camera online for warranty benefits and access to exclusive resources. Refer to the included manual for visual aids throughout this process.
Understanding the Camera Body & Controls
Familiarize yourself with the Nikon D60’s layout. The top panel houses the mode dial, shutter button, and control dials for adjusting settings. The rear panel features the LCD screen, directional pad, and menu buttons. Locate the function buttons, customizable for quick access to frequently used features.
The grip is ergonomically designed for comfortable handling. Understand the purpose of each button and dial through practical experimentation. Explore the viewfinder for composing shots and reviewing information. Pay attention to the placement of the SD card slot and battery compartment. Mastering these controls is crucial for efficient operation and creative control over your photography. Consult the camera’s manual for detailed diagrams and explanations.
Key Features of the Nikon D60
The Nikon D60 boasts a 24.2-megapixel DX-format CMOS sensor, delivering exceptional image quality and detail. Its EXPEED 4 image processor ensures fast performance and reduced noise, even in low-light conditions. Enjoy responsive shooting with a continuous shooting rate of 5.5 frames per second.
The camera features an 11-point autofocus system for accurate subject tracking. Capture stunning Full HD 1080p video at up to 60fps. Benefit from built-in Wi-Fi and Bluetooth connectivity for easy image sharing and remote control. The 3.0-inch LCD screen provides clear viewing, and the Guide Mode assists beginners in learning camera settings. Explore creative possibilities with various scene modes and picture control options.
Understanding the Exposure Triangle
Mastering exposure involves balancing aperture, shutter speed, and ISO – the three pillars that determine your image’s brightness and overall look.
Aperture: Controlling Depth of Field
Aperture, measured in f-stops (like f/2.8, f/5.6, f/16), controls the size of the lens opening. A wider aperture (smaller f-number, e.g., f/2.8) lets in more light, creating a shallow depth of field – ideal for portraits with blurred backgrounds. Conversely, a narrower aperture (larger f-number, e.g., f/16) allows less light, resulting in a greater depth of field, keeping more of the scene in focus, perfect for landscapes.
On your Nikon D60, experiment with different aperture settings to see how they affect your images. Remember that a lower f-stop number means a shallower depth of field and a brighter image, while a higher f-stop number means a greater depth of field and a darker image. Understanding this relationship is crucial for creative control.
Shutter Speed: Capturing Motion
Shutter speed, measured in seconds or fractions of a second (e.g., 1/1000s, 1/60s, 1s), determines how long the camera’s sensor is exposed to light; A fast shutter speed (e.g., 1/1000s) freezes motion, perfect for sports or wildlife photography. A slow shutter speed (e.g., 1s) blurs motion, creating a sense of movement, ideal for waterfalls or light trails.
With your Nikon D60, experiment with various shutter speeds. Be mindful of camera shake with slower speeds; a tripod is recommended. Faster speeds require more light. Understanding the interplay between shutter speed and motion is key to capturing dynamic and visually compelling images. Remember to adjust other settings, like ISO, to maintain proper exposure.
ISO: Sensitivity to Light
ISO represents your camera’s sensitivity to light. A low ISO (e.g., 100) is ideal for bright conditions, producing clean images with minimal noise. A high ISO (e.g., 3200) is useful in low-light situations, allowing you to use faster shutter speeds, but it introduces more digital noise or grain into the image.
On your Nikon D60, carefully balance ISO with aperture and shutter speed to achieve proper exposure. While higher ISOs can save a shot in dim lighting, prioritize keeping the ISO as low as possible to maintain image quality. Experiment to find the highest usable ISO setting for your D60 before noise becomes unacceptable.

Focusing Modes & Techniques
Mastering focus is crucial for sharp images. The Nikon D60 offers various autofocus and manual focus options, enabling precise control over image clarity and detail.
Autofocus Modes Explained
The Nikon D60 provides several autofocus (AF) modes, each suited for different shooting scenarios. Single-servo AF (AF-S) is ideal for stationary subjects, locking focus when the shutter button is half-pressed. Continuous-servo AF (AF-C) tracks moving subjects, continuously adjusting focus as they change position – perfect for sports or wildlife.
Automatic-servo AF (AF-A) intelligently switches between AF-S and AF-C, attempting to determine the best mode automatically, though manual selection often yields better results. Predictive focus within AF-C anticipates subject movement for sharper action shots. Understanding these modes allows you to optimize focus performance, ensuring consistently sharp and captivating images, regardless of the subject’s behavior or your shooting style. Experimenting with each mode is key to mastering your D60’s autofocus capabilities;
Manual Focus: When and How to Use It
While the Nikon D60 excels with autofocus, mastering manual focus (MF) expands your creative control. MF is crucial in low-light situations where autofocus struggles, or when precise focus is needed on specific details. Switch the lens to ‘M’ and rotate the focusing ring until your subject appears sharp in the viewfinder or on Live View.
Utilize magnification in Live View for critical focus confirmation. MF is also beneficial for macro photography, ensuring pinpoint accuracy. Though more time-consuming than autofocus, manual focus fosters a deeper connection with the photographic process and allows for artistic choices beyond automated systems. Practice regularly to develop muscle memory and refine your manual focusing skills, unlocking a new dimension of photographic expression.
Focus Area Modes: Selecting Your Focus Point
The Nikon D60 offers several Focus Area Modes, dictating how the autofocus system selects the focus point. ‘Auto-area AF’ lets the camera choose, suitable for general subjects. ‘Center-point AF’ focuses solely on the center point, ideal for stationary subjects. ‘Dynamic-area AF’ allows you to select a focus point, and the camera will track the subject if it moves within the selected area.
‘Face-priority AF’ is excellent for portraits, automatically detecting and focusing on faces. To change modes, access the custom settings menu. Experiment with each mode to understand its strengths and weaknesses. Precise focus point selection is vital for sharp, impactful images, ensuring your intended subject is perfectly in focus while creatively blurring the background.
Shooting Modes: Finding the Right Setting
Explore diverse shooting modes on your Nikon D60, ranging from fully automatic options for simplicity to manual control for experienced photographers and creative expression.
Auto Modes: For Beginners

Nikon D60’s auto modes are perfect for those new to DSLR photography, simplifying the process and delivering excellent results with minimal effort. The Auto mode intelligently analyzes the scene, selecting optimal settings for exposure, focus, and white balance.
Scene modes offer pre-defined settings tailored to specific shooting situations like portrait, landscape, close-up, and sports. These modes optimize camera settings for the chosen scenario, enhancing image quality.
The Flash Control in auto mode automatically determines when and how much flash is needed, ensuring properly lit photos even in challenging lighting conditions. Experimenting with these modes builds confidence and allows beginners to quickly capture memorable images without needing to understand complex camera settings. They are a fantastic starting point for learning photography!
Semi-Automatic Modes (Aperture Priority, Shutter Priority)
Aperture Priority (A) mode allows you to control the aperture, influencing depth of field – the area in focus. Lower f-numbers (e.g., f/1.8) create shallow depth of field, ideal for portraits, while higher f-numbers (e.g., f/16) yield greater depth of field, perfect for landscapes. The camera automatically adjusts shutter speed for proper exposure.
Shutter Priority (S) mode lets you set the shutter speed, controlling motion blur. Fast shutter speeds (e.g., 1/1000s) freeze action, while slow shutter speeds (e.g., 1/30s) create motion blur. The camera selects the appropriate aperture.
These modes offer a balance between creative control and automation, enabling you to experiment with different effects while the camera handles exposure. Mastering these modes is a crucial step towards becoming a more proficient photographer.
Manual Mode: Full Control
Manual (M) mode grants you complete control over both aperture and shutter speed, offering ultimate creative freedom. This mode requires a solid understanding of the exposure triangle – aperture, shutter speed, and ISO – to achieve properly exposed images. You independently adjust each setting to balance light and achieve your desired effect;
While demanding, Manual mode allows for precise control over depth of field, motion blur, and overall image brightness. It’s essential for challenging lighting situations where automatic modes struggle. Use the camera’s light meter as a guide, but don’t be afraid to deviate for artistic purposes.
Mastering Manual mode unlocks your full photographic potential, enabling you to consistently capture images exactly as you envision them.
Navigating the Menu System
Explore the D60’s menu to personalize settings, adjust camera functions, and optimize your shooting experience for diverse photographic scenarios and preferences.
Customizing Camera Settings
Personalize your Nikon D60 to match your shooting style and preferences. Dive into the menu system to adjust image quality settings, selecting between RAW and JPEG formats, or fine-tuning Picture Control profiles for vibrant or natural-looking images. Customize autofocus behavior, choosing from various modes and focus area options to ensure sharp results.
Explore options for metering, exposure compensation, and white balance to achieve accurate and consistent colors. Tailor button assignments and display settings for quick access to frequently used functions. Don’t forget to configure the date, time, and copyright information. By customizing these settings, you’ll transform your D60 into a truly personalized photographic tool, perfectly suited to your creative vision and workflow.
Understanding the Setup Menu
The Setup menu on your Nikon D60 is the central hub for configuring fundamental camera operations. Here, you’ll find options to format memory cards, adjust the built-in flash settings, and customize the information displayed in the viewfinder and on the LCD screen. Explore settings for USB connectivity, video output, and language preferences.
Crucially, this menu allows you to reset the camera to its factory defaults, a useful function for troubleshooting or starting fresh. You can also manage file naming conventions and set the clock for accurate time-stamping of your images. Familiarizing yourself with the Setup menu empowers you to optimize your D60’s performance and tailor it precisely to your needs, ensuring a smooth and efficient shooting experience.
Playback Menu Options
The Playback menu on your Nikon D60 governs how you review your captured images and videos. Here, you can choose to display images individually or in multi-image views, along with helpful shooting data like aperture, shutter speed, and ISO. Utilize the histogram display to assess exposure accuracy and identify potential clipping in highlights or shadows.
Further options include image rotation, deletion, and protection against accidental erasure. You can also apply quick retouch effects, such as D-Lighting for brightening shadows, directly on the camera. The menu allows for zooming into images to verify sharpness and detail. Mastering these playback features streamlines your workflow and enables efficient image evaluation.
Working with Lenses & Accessories
Expand your creativity! Discover compatible Nikon lenses and essential accessories to enhance your D60’s capabilities and unlock new photographic possibilities.
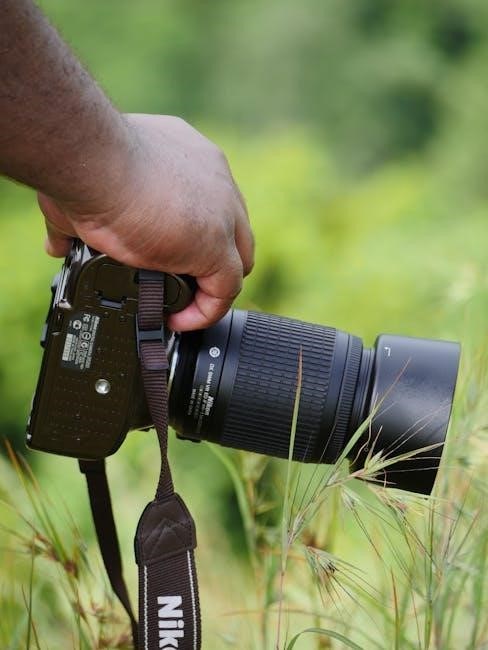
Compatible Nikon Lenses
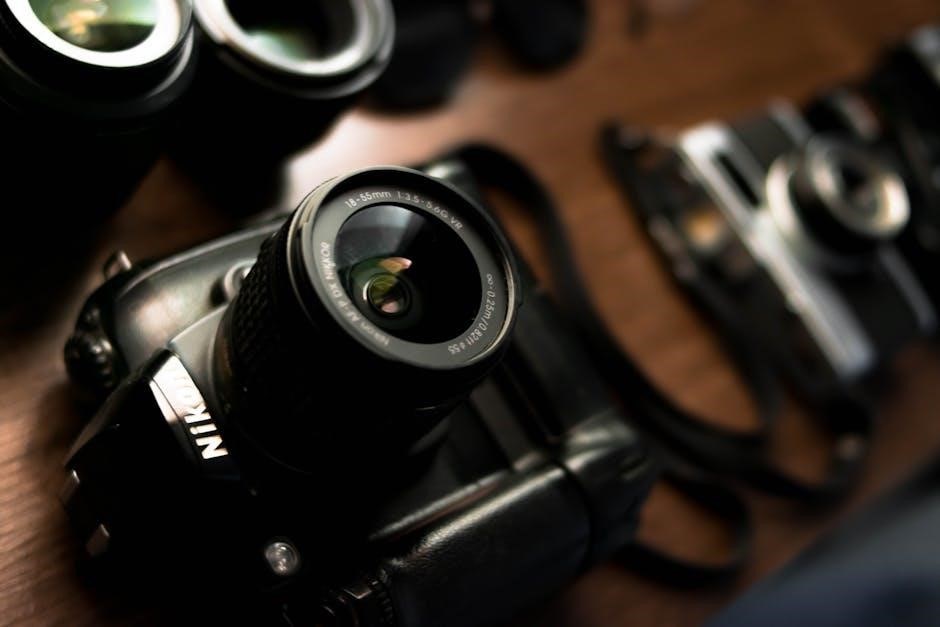
Nikon’s extensive lens lineup offers a wide range of options for your D60, catering to diverse photographic styles. The D60 utilizes the Nikon F mount, ensuring compatibility with numerous lenses – both older and newer designs. DX-format lenses are specifically designed for cameras with APS-C sensors like the D60, providing an optimal image circle and avoiding vignetting.
FX-format lenses (designed for full-frame cameras) can also be used, but will result in a 1.5x crop factor, effectively increasing the focal length. This can be advantageous for wildlife or sports photography, bringing distant subjects closer. Consider lenses like the AF-S DX NIKKOR 18-55mm kit lens for everyday shooting, or explore specialized lenses like macro, telephoto, or wide-angle options to expand your creative horizons. Third-party lenses from manufacturers like Sigma, Tamron, and Tokina are also compatible, offering additional choices and price points.

Using External Flashes
Expanding your lighting capabilities with an external flash unlocks creative potential beyond the D60’s built-in flash. Nikon’s Speedlights, like the SB-700 or SB-500, offer more power, control, and features. Attaching a flash to the D60’s hot shoe establishes a direct connection for communication and control. Explore flash modes like TTL (Through-The-Lens) for automatic exposure, or manual mode for precise control over flash output.
Off-camera flash techniques, utilizing wireless triggers, allow for more dynamic and creative lighting setups. Bounce flash, directing the light off a ceiling or wall, creates softer, more natural-looking illumination. Remember to consider flash synchronization speed (typically around 1/200s on the D60) to avoid dark bands in your images. Experiment with flash modifiers like diffusers and softboxes to further refine the light quality.
Essential Nikon D60 Accessories
Enhance your Nikon D60 experience with a few key accessories. A spare battery is crucial for extended shooting sessions, preventing interruptions during important moments. An SD card with ample storage and fast write speeds ensures smooth image capture, especially when shooting in RAW format or recording video. A comfortable neck strap or wrist strap provides security and ease of carrying.
Consider a camera bag to protect your D60 and accessories during transport. Lens cleaning kits are vital for maintaining image quality. For advanced users, a remote shutter release minimizes camera shake during long exposures. Finally, explore external flashes for improved lighting control, and consider a tripod for stable shots in low-light conditions.

Image Quality & File Formats
Master image settings! Explore RAW versus JPEG, understand white balance adjustments, and utilize Picture Control settings for optimal image quality and creative control.
RAW vs. JPEG: Choosing the Right Format
Understanding the difference is crucial. JPEG files are compressed, meaning some image data is discarded to reduce file size, making them ideal for quick sharing and smaller storage needs. However, this compression is lossy, impacting potential editing flexibility.
RAW files, conversely, contain all the data captured by the camera’s sensor; This results in significantly larger file sizes, but provides unparalleled editing latitude. You can adjust white balance, exposure, and other settings non-destructively, meaning the original data remains untouched.
For serious photographers intending to extensively edit their images, RAW is the preferred choice. If you prioritize convenience and immediate usability, JPEG is a suitable option. The Nikon D60 allows you to shoot in both formats, or even simultaneously, offering the best of both worlds.
White Balance Settings
Achieving accurate colors is vital, and white balance ensures that whites appear white, and all other colors are rendered correctly. The Nikon D60 offers several preset white balance modes, including Auto, Incandescent, Fluorescent, Direct Sunlight, Cloudy, and Shade. Auto White Balance (AWB) is convenient for general shooting, but can sometimes be inaccurate.
For more precise control, select a preset that matches your lighting conditions. You can also use Custom White Balance, where you manually set the white point using a white or gray card. This is particularly useful in challenging lighting situations.
Experimenting with white balance can also create artistic effects. Incorrect settings can produce warm or cool tones, adding mood to your images. The D60 allows fine-tuning of white balance in post-processing if shooting in RAW format.
Picture Control Settings
Nikon’s Picture Control system allows you to customize the look of your JPEGs directly in-camera. The D60 offers Standard, Neutral, Vivid, Monochrome, Portrait, and Landscape presets. Standard provides a balanced look, while Vivid boosts saturation for vibrant colors. Neutral is ideal for post-processing, offering a flat profile.
Portrait enhances skin tones, and Landscape emphasizes blues and greens for scenic shots. Monochrome creates black and white images directly in-camera. You can further refine each Picture Control by adjusting sharpness, contrast, brightness, saturation, and hue;
Creating custom Picture Controls allows you to save your preferred settings for consistent results. Remember that Picture Control settings only affect JPEG images; RAW files retain all image data for flexible editing.
No Responses